How to use a torque wrench on a bike comes down to one habit: set the value the manufacturer specifies for that bolt, thread the bolt in by hand, pull the handle smoothly at roughly 90 degrees to the fastener, and stop the moment you hear and feel the click. That is the whole technique. The fiddly part is finding the right number for the part in front of you.
Almost every bolt on a bicycle has a torque specification because both failure directions hurt. Too loose and a stem rotates under pressure, a seatpost slips, or a caliper bolt works loose on a descent. Too tight and you strip threads, crush a carbon component, or crack an alloy part that was designed to flex.
A stripped seatpost collar or a cracked carbon stem costs far more than a decent wrench. This guide covers what you need, the six steps that work on every bike job, and the handful of mistakes that trip up beginners.
Table of Contents
- What You Need
- Which type of torque wrench do you need?
- Bits and sockets
- A source for the numbers
- Supporting tools
- Step-by-Step: How to Use a Torque Wrench on a Bike
- 1. Find the manufacturer’s torque specification
- 2. Choose the correct torque wrench and socket
- 3. Set the torque value and verify the setting
- 4. Position the bike safely and hold the component
- 5. Tighten in small increments and stop at the click
- 6. Repeat the pattern and check the result
- Common Mistakes to Avoid
- Why the click fires before the bolt is tight
- Why you never hear a click
- Why grease and carbon paste change the reading
- Frequently Asked Questions
- Do I need a torque wrench to work on my bike?
- How do I know the correct torque for a bike bolt?
- What type of torque wrench is best for bicycle maintenance?
- Can I use a regular wrench instead of a torque wrench?
- Should I use a torque wrench on carbon bike parts?
- How do I know if a torque wrench is accurate?
- Conclusion
What You Need
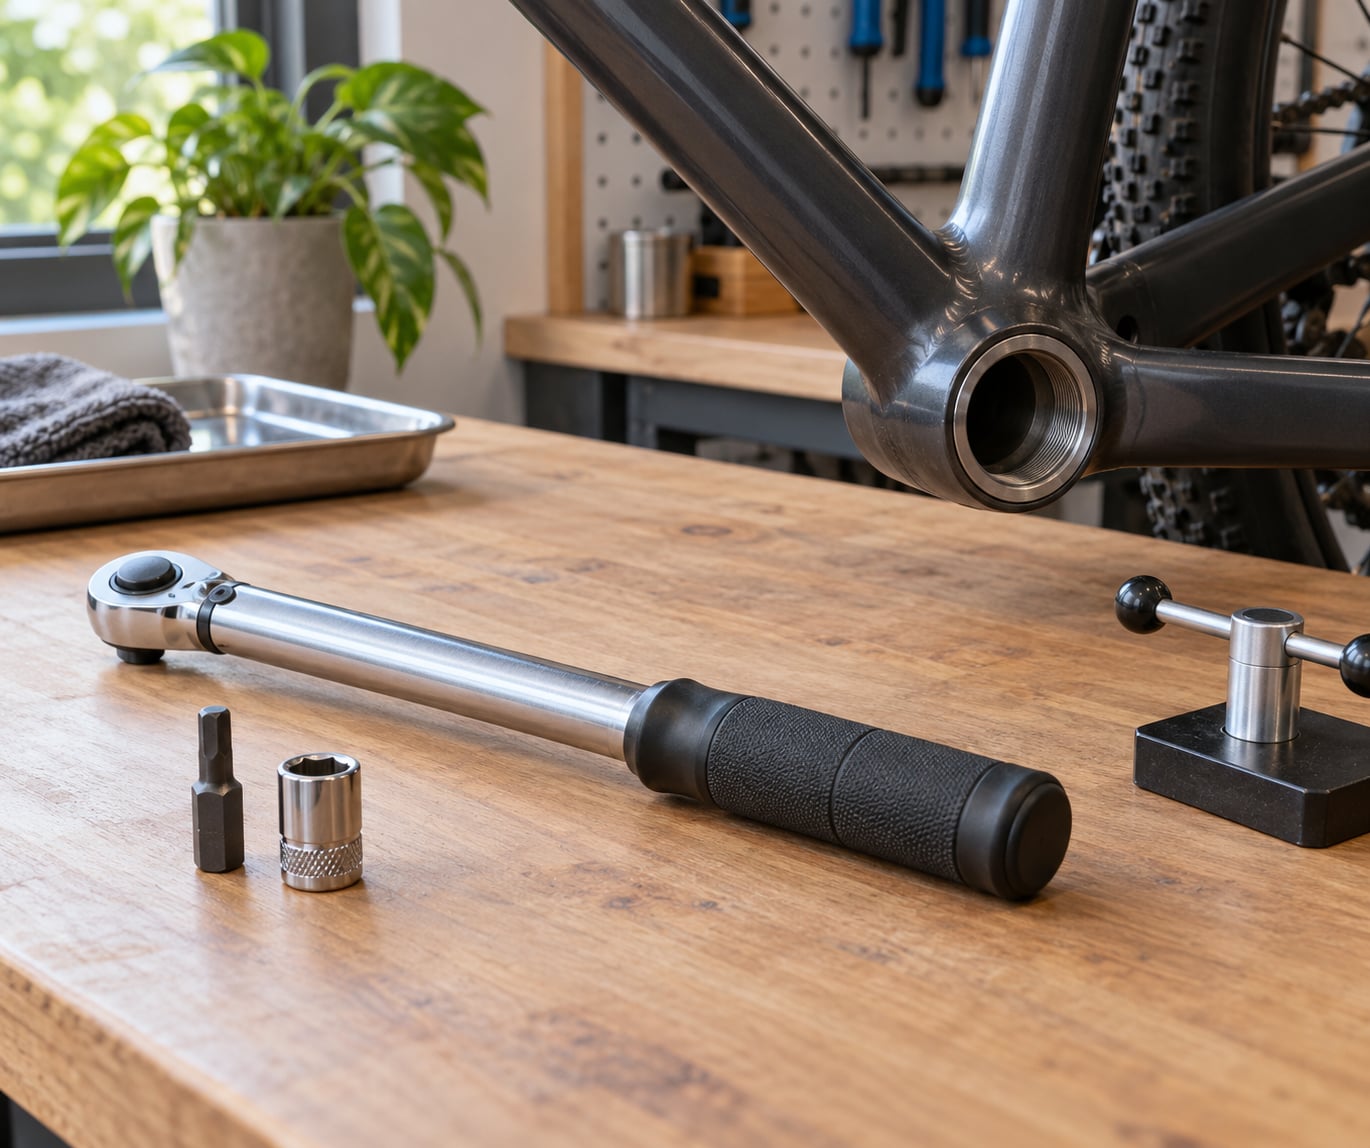
A torque wrench is a calibrated tool that measures the rotational force you apply to a fastener, expressed in Newton-meters (Nm), foot-pounds (ft-lb) or inch-pounds (in-lb). On a click-type model it gives you an audible and physical signal when the value you have set has been reached.
For a home toolkit, an adjustable click-type wrench with a 1/4 inch square drive and a range around 2 to 25 Nm covers nearly every bolt on a bicycle. Check the stated accuracy before you buy: anything within plus or minus 4 percent of the reading is the accepted standard for this kind of tool. A listed range is not the same as a useful range.
That distinction is the 20-80 rule. A click-type wrench is most accurate in the middle of its rated scale, so treat roughly the lower fifth and upper fifth of the range as unreliable. If your only wrench is a 1 to 10 Nm tool and you need 2 Nm, you are working at the very bottom of the scale where error climbs quickly.
Which type of torque wrench do you need?
| Type | How it signals | Best for | Watch out for |
|---|---|---|---|
| Click-type adjustable | Audible and physical click at the set value | Almost all home bike work | Spring fatigue over years, so check accuracy periodically |
| Beam-type with pointer | You read a scale on the handle and stop at the value | Small jobs and learning the feel of torque | No ratchet, so slow and one-handed-unfriendly |
| Digital torque wrench | Numeric display, often with a peak-hold | Carbon frames where the cost of error is high | Heavier, needs batteries, pricier |
| Preset torque driver | Fixed value built into the handle | Bikepacking, cages and rack mounts in the 2 to 10 Nm band | Only works for the value it was built for |
Bits and sockets
Most bike bolts are hex or Torx, so the useful kit is a 1/4 inch drive ratcheting torque wrench plus 3, 4, 5 and 6 mm hex bits and a T25 Torx bit for rotor and caliper hardware. Add small sockets for crank arm bolts and pedals, which take far more torque than anything else on the list. Bit sockets let a hex bit sit in a normal socket when a bolt head is tight against the frame.
Match the bit to the fastener so it fits fully with no wobble. A loose bit rounds the head, and a rounded head is how people decide they need a bigger wrench.
A source for the numbers
Torque specifications come from the frame or component manufacturer. You will find them stamped into the frame near the bottom bracket shell, printed in the owner’s manual, or published on the manufacturer’s support page. Keep the frame stamp as a hard ceiling: it usually marks the maximum for the whole frame and components.
Also get thread prep within reach: clean grease, carbon paste for carbon interfaces where the manufacturer calls for it, and a thread compound if a component’s instructions ask for one. Carbon paste is not a lubricant and it is not a substitute for grease. Carbon frames have two rules worth memorizing: grease on the steel threads going into the frame, and never use a wrench that has crossed the maximum stamp on the frame.
Supporting tools
Hex keys in 2.5, 3, 4, 5 and 6 mm, a pedal wrench, cable cutters, a bottle of chain lube and a rag cover nearly everything you will meet at the bike stand. Add a torque wrench calibration tool or a second wrench in the same range if you intend to work on carbon regularly.
Step-by-Step: How to Use a Torque Wrench on a Bike
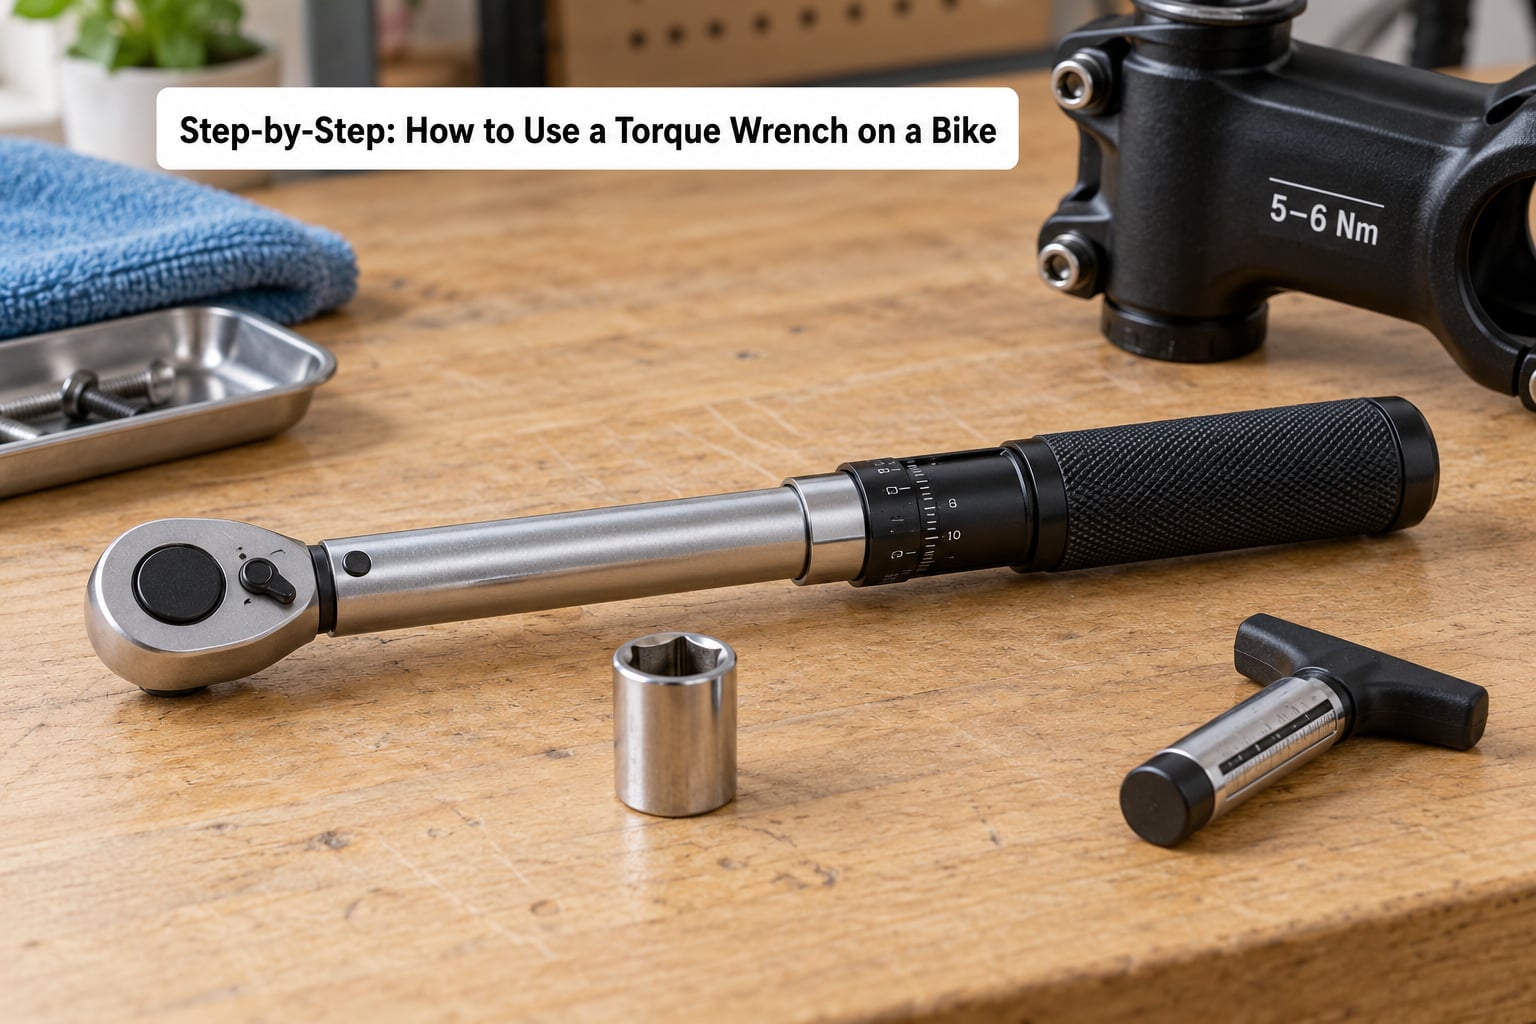
1. Find the manufacturer’s torque specification
Identify the component, then find its specification from the frame stamp, the owner’s manual or the manufacturer’s support page. If a range is given, aim for the middle rather than the top. Riders routinely read a range as a maximum and end up overtightening.
Generic internet charts are a starting point for orientation only. Stickers on headsets and cranks move between models and years, and a chart written for a different bike is not your bike’s specification. When a component has no published figure, use the frame stamp as a ceiling and tighten by feel in small steps, or ask the manufacturer.
Some specs are printed in imperial units. Conversion is worth memorizing in one direction only: multiply Newton-meters by 0.7376 to get ft-lb, and by 8.851 to get in-lb.
| Newton-meters | Foot-pounds | Inch-pounds | Where you meet it |
|---|---|---|---|
| 2 Nm | 1.5 ft-lb | 18 in-lb | Bottle cage, rotor bolts |
| 4 Nm | 3.0 ft-lb | 35 in-lb | Stem faceplate upper bolts |
| 5 Nm | 3.7 ft-lb | 44 in-lb | Seatpost clamp, brake caliper |
| 8 Nm | 5.9 ft-lb | 71 in-lb | Disc caliper bolts, thru-axle |
| 10 Nm | 7.4 ft-lb | 89 in-lb | Rear derailleur mount, stem steerer |
| 20 Nm | 14.8 ft-lb | 177 in-lb | Seat collar, rack mounts |
| 35 Nm | 25.8 ft-lb | 310 in-lb | Crank arm bolt |
| 40 Nm | 29.5 ft-lb | 354 in-lb | Pedal threads |
2. Choose the correct torque wrench and socket
Pick a click-type adjustable wrench for general work and set aside a small preset driver for cages and mounts when you ride far from home. Both types give a definite signal at a known value, which removes the guesswork from the pull itself.
Fit the bit or socket to the bolt first, by hand, and make sure the drive square or hex fully engages. Bike bolts use small hex sizes that look interchangeable but are not. If the wrench is ratcheting, the direction flip is there to stop you removing the ratchet each time you reset the angle.
3. Set the torque value and verify the setting
Most click-type bike wrenches set by turning the knurled adjustment ring at the base of the handle, then locking it with the lock ring. Turn the ring until the target value lines up with the index mark on the body, hold the ring, and tighten the lock ring lightly so the setting cannot drift mid-pull.
Check that the scale you are reading matches the unit printed there. A dual-scale wrench showing Nm on one side and ft-lb on the other is a common design and reading the wrong row is a very ordinary error. Verify the value by rocking the handle gently: it should move freely with no drag at the set figure and stop at the first resistance above it.
If the scale has fine and coarse increments, get as close as you can on the fine thread. Do not assume the setting is correct because it looks right on the dial.
4. Position the bike safely and hold the component
Hang the bike from a stand, clamp it in a repair stand, or lay it on a mat. Whatever you use, support the part you are tightening so it cannot swing or rotate when the bolt takes load.
That matters on faceplate stems and clamps, where the bolt pulls against a lever arm. Brace the stem against the fork crown, hold the seatpost firmly, and keep the cranks from turning by resting a foot on the pedal or bracing the non-drive side. For bottom bracket and headset work, hold the frame shell rather than letting the tool take the reaction.
Access changes the technique more than people expect, because the handle needs room to swing through a full stroke. On a handlebar faceplate you usually work from the front of the bike with the bars turned, and you brace the bar against the stem rather than squeezing it. On a seatpost clamp the easiest position is off the bike, laid on its side, with the clamp bolts reached from underneath.
Cranks and pedals want the bike upright and braced. A crank arm bolt is tightened with the drive side up and the non-drive arm held firmly, and pedals go on last with the crank supported so the arms cannot cross over each other. Caliper and rotor bolts are small, high-value fasteners that are far easier to reach with the wheel out of the frame.
5. Tighten in small increments and stop at the click
Run the bolt down by hand until it is properly seated and snug. Then take the wrench by the end of the handle, never near the socket, and pull in one smooth steady stroke at roughly 90 degrees to the bolt until you hear and feel the click.
Stop turning at that point. Everything after the click is extra torque the fastener did not ask for. Do not jab at the handle, bounce it, or lean your body weight onto it to force the last fraction of a turn, because those are exactly the movements that produce a reading higher than the dial shows.
You will know the pull worked when the click arrives smoothly near the end of the arc rather than on the first nudge. A click that fires the instant you take up slack usually points at something other than the bolt, which is covered below.
Staged tightening matters most on joints that clamp something. A stem faceplate, a seatpost clamp and a caliper mount all draw two surfaces together, and a single hard pull on the first bolt puts almost all the load on that one corner. Two or three passes at increasing values let the surfaces bed in evenly, which is what keeps the component centered and the bolt tension predictable.
If you want a rough sanity check before you commit, torque is force times handle length. At 5 Nm with a 200 mm handle you are applying about 25 N of force at the end, which is a firm pull with an adult arm and not a heave. That mental model catches the commonest error, which is trying to reach a low value by leaning on the wrench instead of pulling it.
6. Repeat the pattern and check the result
On a multi-bolt joint such as a stem faceplate or a caliper, work the bolts in stages and in a crossing pattern. Do a first pass at roughly half the target, a second at the full value, then a third verification pull on each bolt in turn.
On the verification pass the click should arrive at the same angle every time. If a bolt keeps moving at the specified value, stop and investigate rather than tightening harder. Look for a gap, a part that has compressed, a shim or washer stack adding height, or a bolt bottoming out before the click.
Before you ride, give each component a firm hand check for play and confirm nothing has creaked or shifted. Return the wrench to its lowest setting so the internal spring stays relaxed, and put it away. Torque tools are for tightening only, and never for removing a seized bolt.
A post-crash rebuild is where this discipline pays off most. After a fall, frame and component threads are damaged, and a bolt that feels slightly rough is often a burr or a distorted thread rather than normal resistance. Take every fastener out, inspect it under a light, and replace anything with a rounded head or a chewed thread instead of torquing it harder. The same goes for a bolt that has lost its washer, where the added gap changes the reading.
Common Mistakes to Avoid
Nearly every mishap with a bike torque wrench comes down to one of five habits. They are all fixable once you know what to look for.
| Mistake | What happens | Correct practice |
|---|---|---|
| Using a generic torque number | The bolt ends up outside its safe load, usually too tight | Use the frame stamp, the manual or the manufacturer’s page for your exact part |
| Turning past the click | Added load on the bolt, threads and whatever the bolt passes through | Stop the instant the click fires, every time |
| Whipping or jerking the handle | The reading overshoots the value on the dial | One slow, smooth pull at about 90 degrees |
| Loosening bolts with it | Damaged mechanism and misleading readings on a later job | Use a normal wrench for removal; reserve the torque wrench for tightening |
| Not resetting to the lowest setting | The internal spring sits under tension and drifts out of calibration | Return to zero or the lowest value after every job |
| Working at the edge of the range | Accuracy falls off outside the middle band of the scale | Stay inside the 20 to 80 percent usable band |
| Overtightening a carbon part | Crushed or cracked carbon that cannot be seen from outside | Follow the carbon component’s spec exactly, with grease on steel threads |
Why the click fires before the bolt is tight
This is the most common beginner question in mechanic forums, and the answer is usually not the wrench. Riders often describe torquing a frame-mounted brake caliper bolt at 5 Nm and hearing the click with the bolt barely halfway into the frame. The usual explanations are that the bolt is not threading deeply enough into the frame, that it is cross-threaded, that there is a burr or damaged thread on the frame side, or that a washer or shim stack is lifting the head off the surface so the bolt never seats.
The fix is mechanical, not calibration. Thread the bolt in by hand until it is fully engaged and the head is sitting flat, spin it a quarter turn backwards to confirm it is not catching, then pull to the specification again. If the click still arrives early, check the threads with a pick before you blame the tool.
Why you never hear a click
Some wrenches click only once, and a slow hesitant pull lets you creep past the signal without noticing. Push the handle down with your palm instead of gripping it, and you will feel the break in resistance even when the sound is quiet.
Other causes: the value you need is above what the tool can measure, the mechanism has drifted out of calibration, or the bolt is loose enough that you reach the set value before the joint has drawn up. Test the tool before trusting it on carbon: set it to a low figure, hold the wrench body still, push the handle slowly and confirm the click happens at the setting on the dial and not somewhere else.
Why grease and carbon paste change the reading
Torque is not tension. A thread converts applied torque into stretch in the bolt, and friction between the threads absorbs a large share of what you apply. Fastener engineering data shows that lubrication, cleanliness and thread condition can shift real bolt preload by several multiples, even when the wrench is reading exactly the printed specification.
The practical response is boring and correct: clean the threads, apply exactly what the component manufacturer specifies, and treat the printed number as the number for that preparation. Dry threads on a greasy bolt or paste where grease belongs both push the real preload in the wrong direction.
The same reasoning explains why a bolt can feel correct on one bike and loose on another with identical numbers. A clean dry steel thread and a greased steel thread produce different friction, and friction is a large share of what the wrench is measuring. This is also why a value specified for a dry bolt should not quietly be carried over to a greased one without checking the manufacturer’s note.
Frequently Asked Questions
Do I need a torque wrench to work on my bike?
For safety-critical bolts, yes. Stems, handlebars, seatpost clamps, cranks, pedals, brake calipers and any carbon component all have specifications where over- or under-tightening ends in damage or a failure on the road. For everything else a proper hex key and a firm feel go a long way, and mechanics do not torque every bolt on a routine service. A wrench covering 2 to 25 Nm is cheap protection for the jobs that matter.
How do I know the correct torque for a bike bolt?
Use the frame stamp first, since it usually marks the maximum the frame maker allows anywhere on the bike. Then check the owner’s manual or the component manufacturer’s support page for that exact part. If a range is printed, aim for the middle. Generic torque charts are useful for orientation but they are not your bike’s specification, and a value written for a different model or year can be wrong in either direction.
What type of torque wrench is best for bicycle maintenance?
A click-type adjustable wrench with a 1/4 inch square drive and roughly a 2 to 25 Nm range covers almost every bolt on a bicycle, and the click gives you a definite stop rather than a number to judge by eye. Beam-type wrenches are good for learning what torque feels like, digital models suit riders working on expensive carbon, and preset drivers are the practical pick for bikepacking cages and rack mounts.
Can I use a regular wrench instead of a torque wrench?
Yes for a lot of bolts, and for removing anything. Torque tools are built to measure, and using one to loosen a bolt or free a seized fastener can damage the mechanism and leave the scale reading badly afterwards. Where it matters is on fasteners with a published specification and a narrow safe band, particularly carbon parts, stems, seatpost clamps and cranks, where the cost of guessing is high.
Should I use a torque wrench on carbon bike parts?
Yes, and more carefully than on alloy. Carbon fails in ways you cannot see, so an overtightened stem, seatpost or seat clamp can crack quietly and then give way at the worst moment. Clean the threads, use grease on steel threads entering the frame, apply carbon paste only where the manufacturer specifies it, stay below any maximum stamped into the frame, and treat the printed value as exact rather than a starting point for more.
How do I know if a torque wrench is accurate?
Check the stated accuracy on the label, where plus or minus 4 percent of the reading is the accepted standard, and stay inside the middle band of the range. For a home check, hold the wrench body in a clamp and pull the handle slowly, confirming the click comes at the number on the dial. A calibration tool or a comparison against a second wrench catches drift. Most workshops check yearly; do it before trusting a tool on carbon.
Conclusion
Start with the specification, not the tool. Read the frame stamp, check the manual or the manufacturer’s page for that component, and treat a printed range as a target rather than a ceiling.
Then match the wrench to the job, fit the bit so it sits square, thread the bolt in by hand until it is properly seated, and pull smoothly at about 90 degrees until the click. Stop there, work multi-bolt joints in stages, and put the tool back at its lowest setting. That discipline, repeated on every job, is what keeps a 2026 season of roadside fixes from ending in a cracked or stripped part.